I realize I am sort of all over the place with my posting. It’s a thing. It happens. I couldn’t even keep up with my own writing challenge from *last* July. I’m still posting on those topics, just slowly, and sort of noncommittal in my dedication.
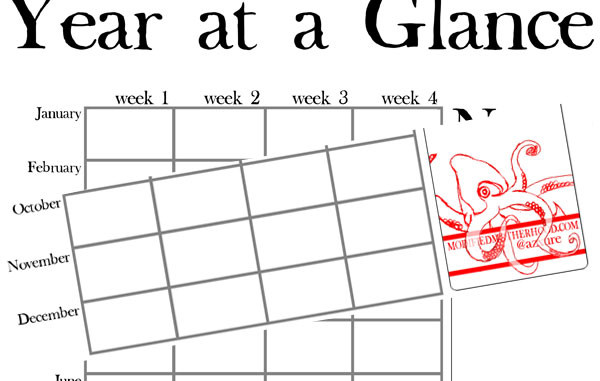
So I made one! It’s just like every other year at a glance planner out there on the internet. Except it’s mine. And I love it. Apparently I’m Lilo (or Stitch).
I wanted something I could pin-up (or stick to the fridge, or throw in a binder, or fold up and toss in my pocketbook with the 84873565392 other pieces of folded note paper in there) and peek at and see what my theme is this week. Something I can cross off when the post is made and see the progress being made. My goal? One post a week on a manageable theme which is also moveable. Need to swap week 1 August with week 3 November? No problem! Need to flip-flop weeks 2 and 3 in January? No problem! This year at a glance planner is like the Pirates Code – “the code is more what you’d call “guidelines” than actual rules”.
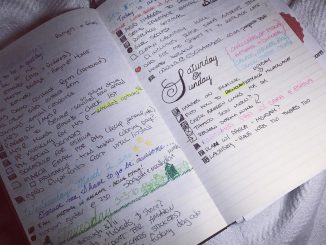
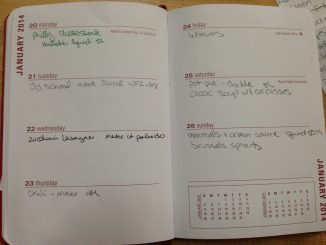
Designed to be flexible, it might seem a little over-simplified. And useless. I mean, who doesn’t have an online calendar they can do the same thing in? My iCal currently has no fewer than 18 active calendars in it. I’d lose track of this in a heartbeat. This lets me glance up from my seat and see what’s happening this week in the world of my blog. Freezer prep? Check. Camping? Check. Getting ready for school? Check. Hurricane season? OK, I’m not posting about that, but if I was (hm, and now I might!), check. So you see how it can be a bit handier than another digital calendar.
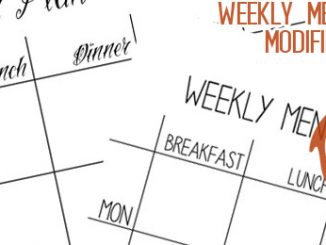
As a bonus, it’s good for more than just blog planning! Homeschool? It’s an excellent weekly unit planner. Specific weekly chores? White out the months and throw in some chores and write names in the boxes. And it’s got my awesome new octokraquin. Because anchors are so 2014 and octokraquins are immortal.
[wpdm_package id=3828 template=”link-template-calltoaction3.php”]Printing Instructions:
Print on 8.5″x11″ paper, full size. If you want it to be a little more durable (or reusable if your planner rolls that way), print on cardstock. If you use a planner, hole-punch along the side where the month names are and insert. That’s it! No special printer settings needed to adjust margins. I’ve tested on two printers and it prints properly the first time, every time. It is set up to use all of your page, however, on the printer that does print to the edge it was fine, and on the one that doesn’t, it’s adjusted to the printer settings. I didn’t experience any cutoff.


Be the first to comment